How to install and tension guy wires with appropriate fittings?
Leave a message

Hey there! As a supplier of Overhead Line Fittings, I've seen firsthand how important it is to install and tension guy wires properly. It's not just about getting the job done; it's about ensuring the safety and longevity of your overhead line systems. In this blog, I'll walk you through the process of installing and tensioning guy wires with appropriate fittings, sharing tips and insights I've gathered over the years.
Understanding Guy Wires and Their Purpose
Before we dive into the installation process, let's quickly go over what guy wires are and why they're so crucial. Guy wires, also known as guy ropes or guy cables, are typically made of steel and are used to provide additional support to various structures, such as poles and towers. They help to prevent these structures from leaning or falling over due to external forces like wind, ice, or the weight of the lines themselves.
Choosing the Right Fittings
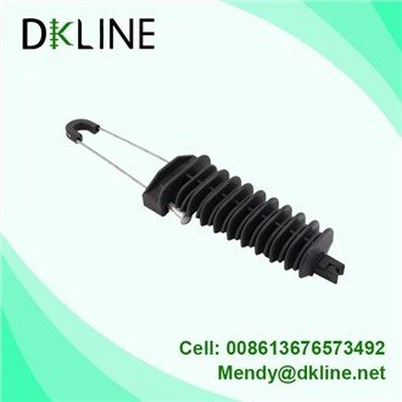
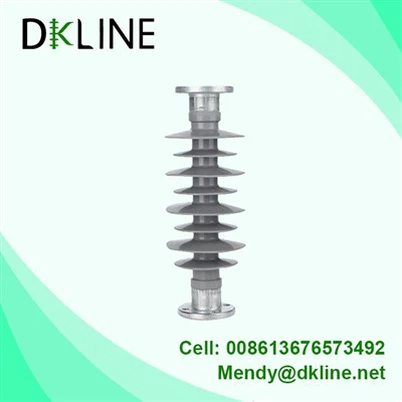
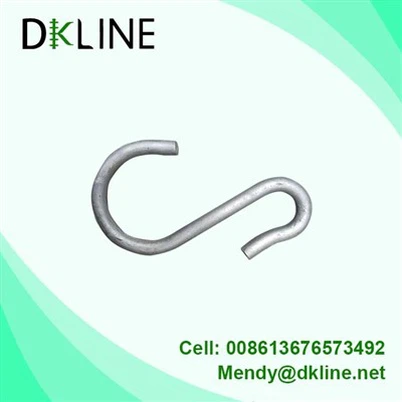
The first step in installing guy wires is choosing the right fittings. This is where we, as an Overhead Line Fittings supplier, come in handy. We offer a wide range of fittings that are designed to work seamlessly with guy wires, ensuring a secure and reliable installation.


One of the essential fittings you'll need is the U Nails. These nails are used to anchor the guy wire to the ground, providing a stable base for the entire system. They come in different sizes and materials, so make sure to choose the ones that are suitable for your specific application.
Another important fitting is the Yoke Plate. Yoke plates are used to connect the guy wire to the pole or tower. They distribute the load evenly, reducing stress on the structure and preventing damage. Our yoke plates are made from high-quality materials, ensuring durability and long-lasting performance.
Preparing for Installation
Once you've chosen the right fittings, it's time to prepare for the installation. Start by conducting a thorough site survey to determine the best location for the guy wires. You'll need to consider factors such as the height of the pole or tower, the direction of the wind, and the terrain.
Next, gather all the necessary tools and equipment. This may include a wire cutter, a tensioning device, a hammer, and a measuring tape. Make sure all your tools are in good working condition and that you have enough supplies to complete the job.
Installing the Guy Wires
Now that you're ready to install the guy wires, let's get started. Here's a step-by-step guide to help you through the process:
- Anchor the U Nails: Start by driving the U Nails into the ground at the designated locations. Make sure they are firmly anchored and that the distance between them is appropriate for the length of the guy wire.
- Attach the Yoke Plate: Once the nails are in place, attach the Yoke Plate to the pole or tower. Use bolts or other appropriate fasteners to secure it in place.
- Thread the Guy Wire: Thread the guy wire through the yoke plate and around the U nails. Make sure the wire is straight and that there are no kinks or twists.
- Tension the Guy Wire: Use a tensioning device to apply the appropriate amount of tension to the guy wire. This is crucial for ensuring the stability of the structure. The amount of tension you need will depend on various factors, such as the size of the wire and the height of the pole or tower. Consult the manufacturer's guidelines or a professional engineer for specific recommendations.
- Secure the Guy Wire: Once the desired tension is achieved, secure the guy wire in place using appropriate fittings, such as clamps or ferrules. Make sure the connections are tight and that there is no slack in the wire.
Tensioning the Guy Wires
Tensioning the guy wires is one of the most critical steps in the installation process. If the wires are not tensioned correctly, they may not provide adequate support, which can lead to structural damage or failure.
To tension the guy wires, you'll need a tensioning device. There are several types of tensioning devices available, including manual and hydraulic models. Choose the one that is most suitable for your specific application and follow the manufacturer's instructions carefully.
When tensioning the guy wires, it's important to monitor the tension closely. Use a tension gauge to measure the tension and make adjustments as needed. You may need to make several passes to achieve the desired tension evenly across all the wires.
Safety Considerations
Installing and tensioning guy wires can be a dangerous job, so it's essential to take all the necessary safety precautions. Here are some safety tips to keep in mind:
- Wear appropriate safety gear: This includes hard hats, safety glasses, gloves, and steel-toed boots.
- Follow the manufacturer's guidelines: Always read and follow the manufacturer's instructions for all tools and equipment.
- Use proper lifting techniques: When handling heavy equipment or materials, use proper lifting techniques to avoid injury.
- Work with a partner: It's always a good idea to have a partner when installing and tensioning guy wires. This can help ensure your safety and make the job easier.
- Be aware of your surroundings: Watch out for other workers, vehicles, and potential hazards in the area.
Maintenance and Inspection
Once the guy wires are installed and tensioned, it's important to perform regular maintenance and inspections to ensure their continued safety and performance. Here are some maintenance tips to keep in mind:
- Check the tension regularly: Use a tension gauge to check the tension of the guy wires at least once a year. Make adjustments as needed to maintain the proper tension.
- Inspect the fittings: Check the fittings, such as the U nails and yoke plates, for signs of wear or damage. Replace any damaged fittings immediately.
- Look for signs of corrosion: Corrosion can weaken the guy wires and fittings over time. Inspect the wires and fittings regularly for signs of corrosion and take appropriate measures to prevent it, such as applying a protective coating.
- Trim nearby vegetation: Overgrown vegetation can interfere with the guy wires and cause damage. Trim any branches or bushes that are close to the wires.
Conclusion
Installing and tensioning guy wires with appropriate fittings is a crucial part of maintaining the safety and reliability of overhead line systems. By following the steps outlined in this blog and using high-quality fittings from a reputable supplier like us, you can ensure a successful installation and long-lasting performance.
If you're in the market for Overhead Line Fittings, including U Nails and Yoke Plate, or if you have any questions about installing and tensioning guy wires, don't hesitate to reach out. We're here to help you find the right solutions for your specific needs. Contact us today to start a conversation about your procurement requirements.
References
- Electrical Transmission and Distribution Reference Book.
- Overhead Line Design and Installation Manuals.
- Manufacturer's guidelines for overhead line fittings and tensioning devices.